A. Software Installation
Download Required Software
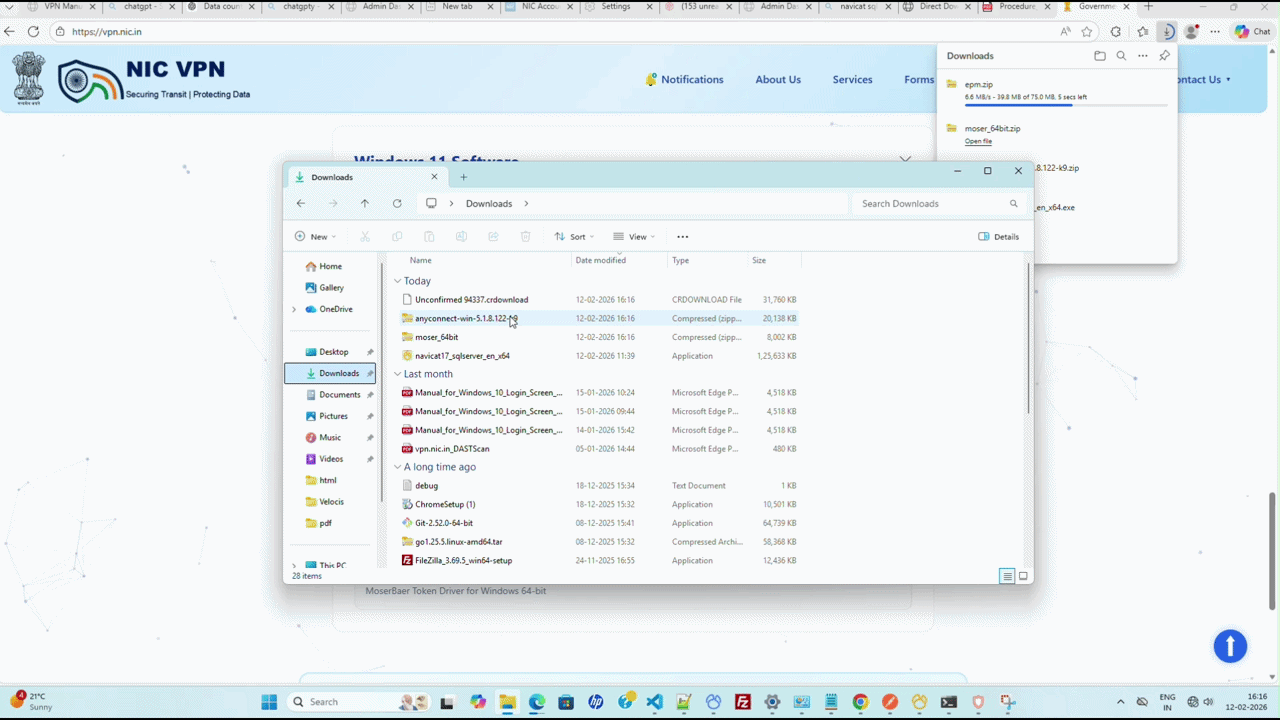
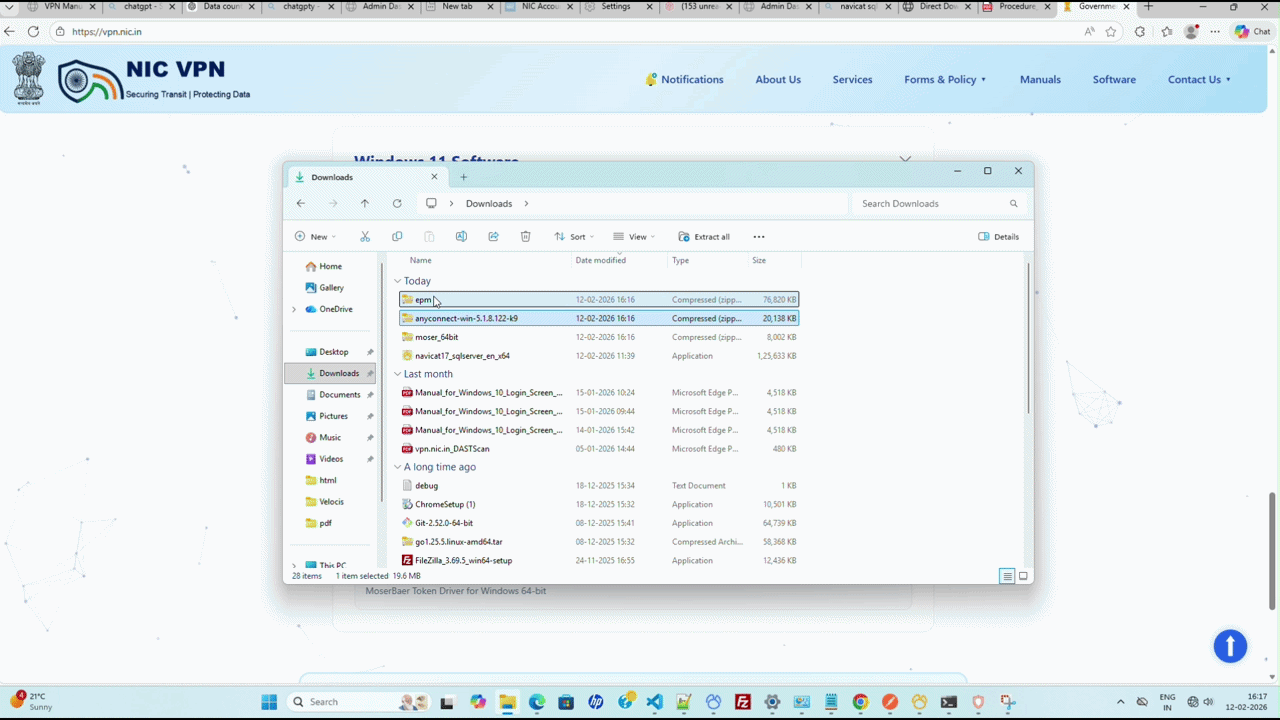
Download VPN Client, MoserBaer and EPM for Windows from the website http://vpn.nic.in.

Installing VPN Client
After running the installer, click Next in the "Welcome to Cisco AnyConnect Secure Mobility Client Setup Wizard" to continue the installation and Click Finish to exit the Setup Wizard and complete the installation.

Installing MoserBaer
After running the installer, click Next to continue the installation and Click Finish to exit the Setup Wizard and complete the installation.
Installing EPM
After running the installer, click Next to continue the installation and Click Finish to exit the Setup Wizard and complete the installation.
B. Connect to IVFRT VPN
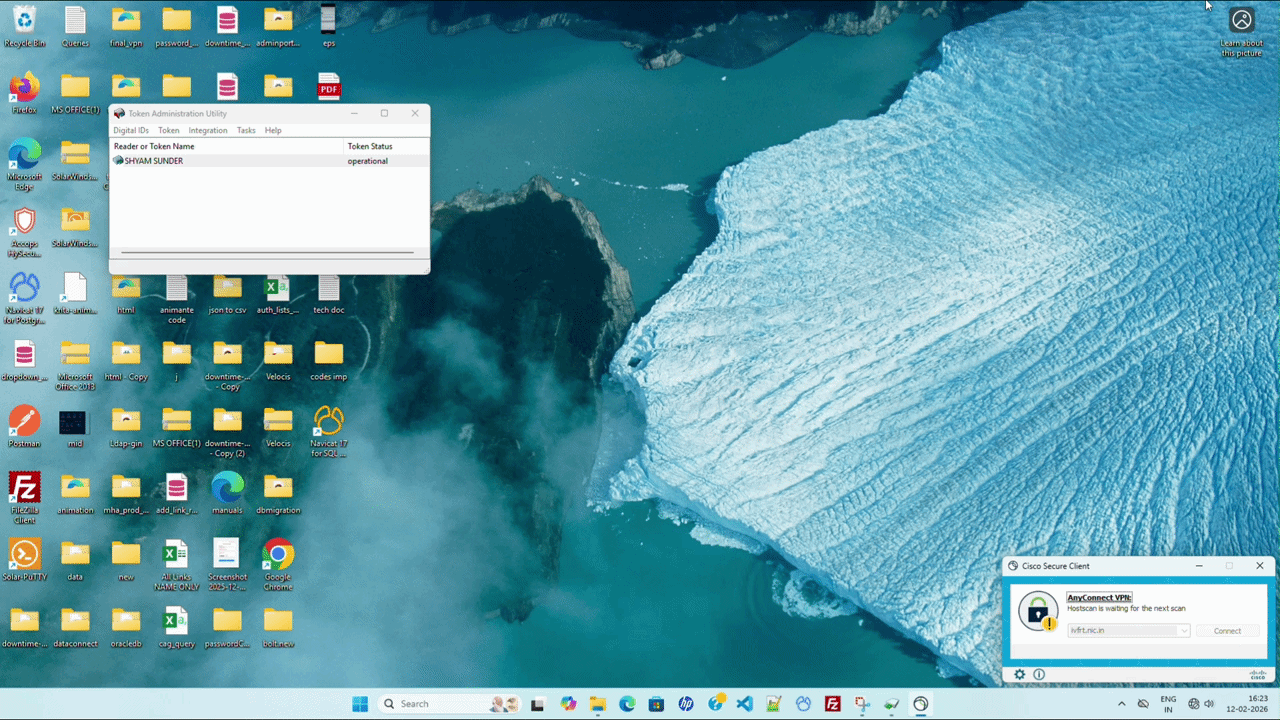
Insert Hardware Token
Insert the hardware crypto token containing the Digital Signing Certificate (DSC) into a USB port on the client machine.
Open AnyConnect Client
Open the Cisco AnyConnect Secure Mobility Client from the Start Menu of Windows.

Enter VPN Server Address
> Type ivfrt.nic.in in the white space and then click the Connect button to begin the connection.
> After clicking Connect, If a error occured "Could not connect to server" then "Reboot" the system.

Enter PIN
You will be prompted to enter the PIN for your DSC. Enter the correct PIN and click OK.

C. VPN Login and Access
Enter Password
After entering the correct PIN, Enter your password and click OK.

Accept Banner
A banner page may appear. Click Accept to complete the connection process and login.
Agree to Terms
After connection, a webpage titled "Welcome to IVFRT VPN Services" will open, displaying "DOS AND DONT'S". Check the box I have read the dos and dont's and agree to abide by them and click AGREE.

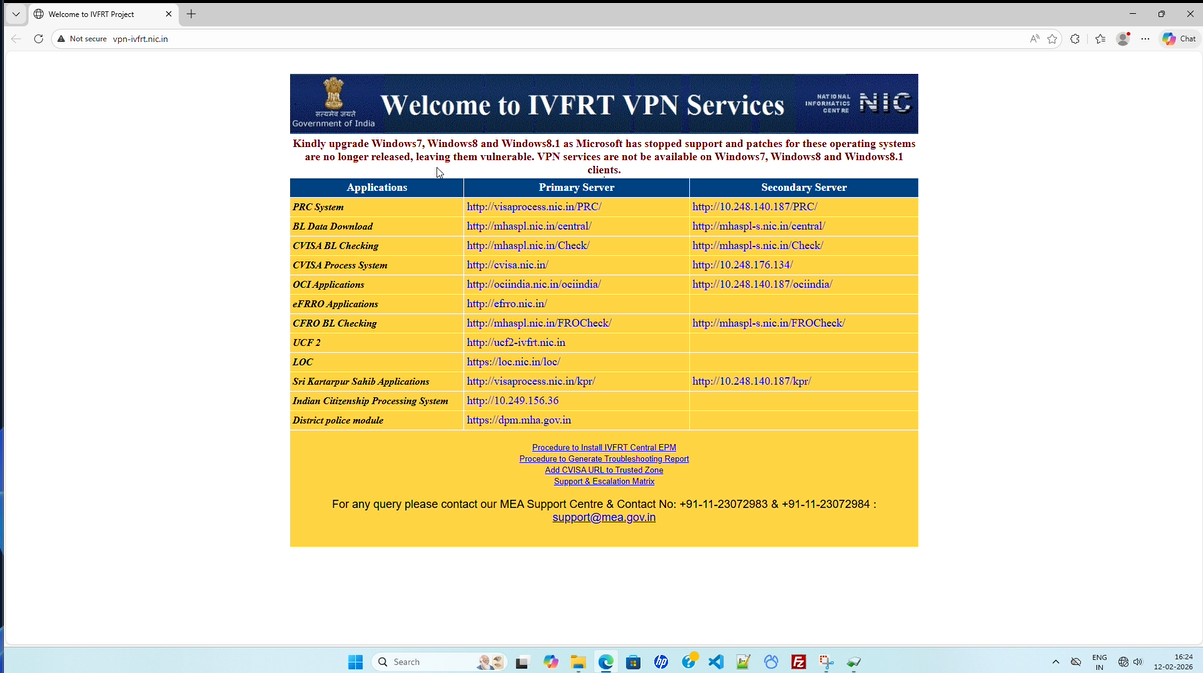
Access Applications
The VPN will be connected shortly. Copy or type the URL of the application to be accessed over VPN into the browser's address bar.
Verify VPN Status
The yellow lock icon over the AnyConnect Secure Mobility Client icon in the quick launch bar denotes that the VPN session is established and running.
Disconnect VPN
To disconnect the VPN session, click on the Cisco AnyConnect Secure Mobility Client icon in the quick launch bar and then click Disconnect.