1. Access and Login to eForms Portal
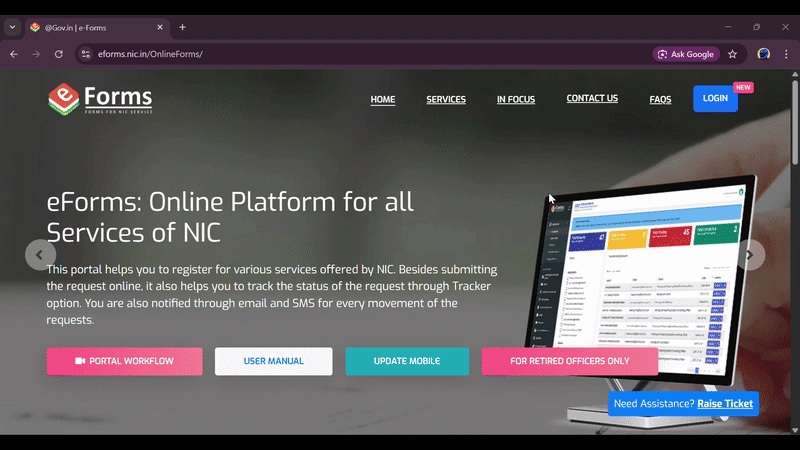
Access Portal
Access the site https://eforms.nic.in in any browser and click the 'Ok' button on the initial 'Notice' popup.

Click Login
Click on the 'Login' option located in the top right corner of the page.
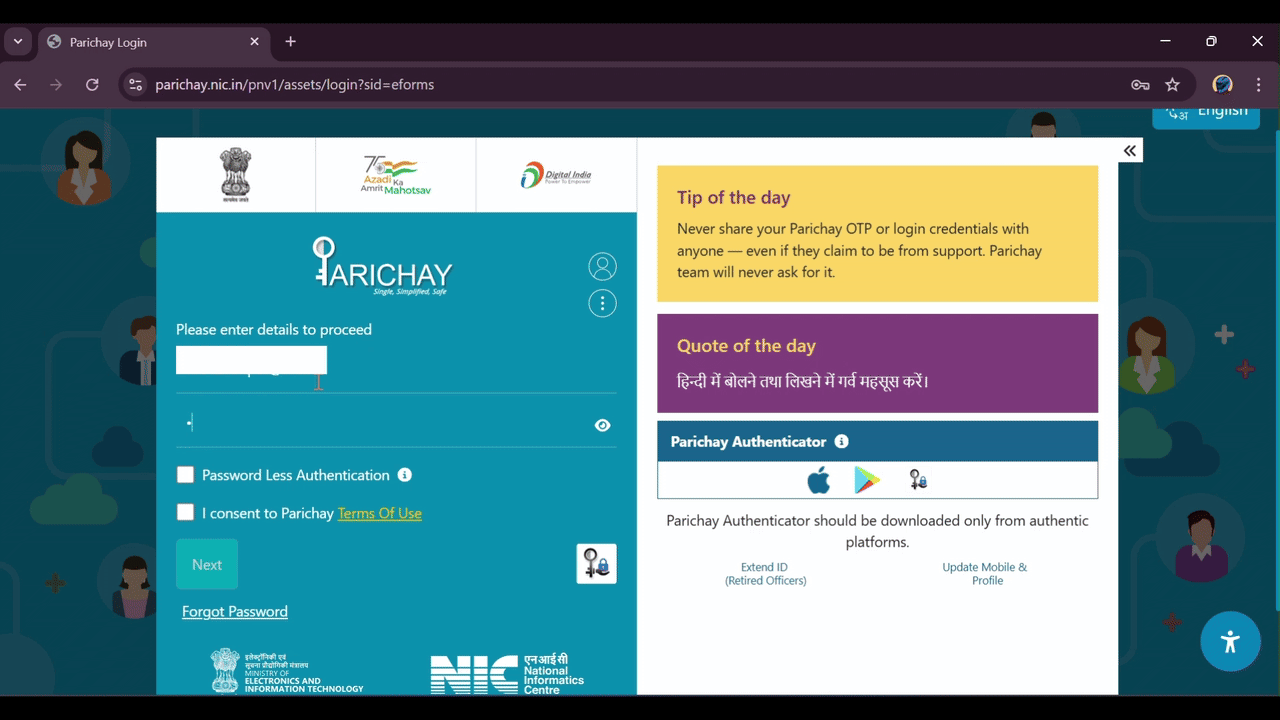
Login with Government Email
Enter your 'Government email id & password' (e.g., @nic.in, @gov.in) and click 'Next'.
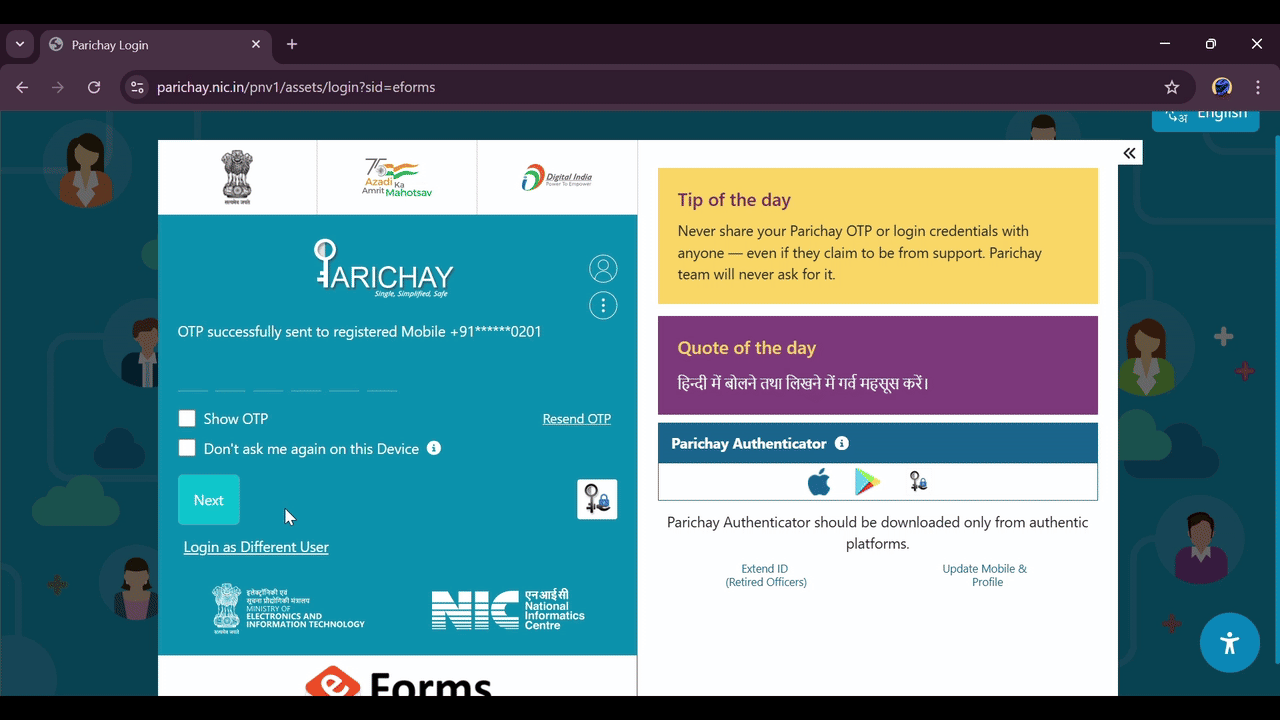
2. Verify Mobile OTP
Verify Mobile OTP
An OTP will be sent to the 'Registered mobile number' linked with your email ID. Enter the received OTP and click 'Next'. If not received, click 'Resend mobile otp'.
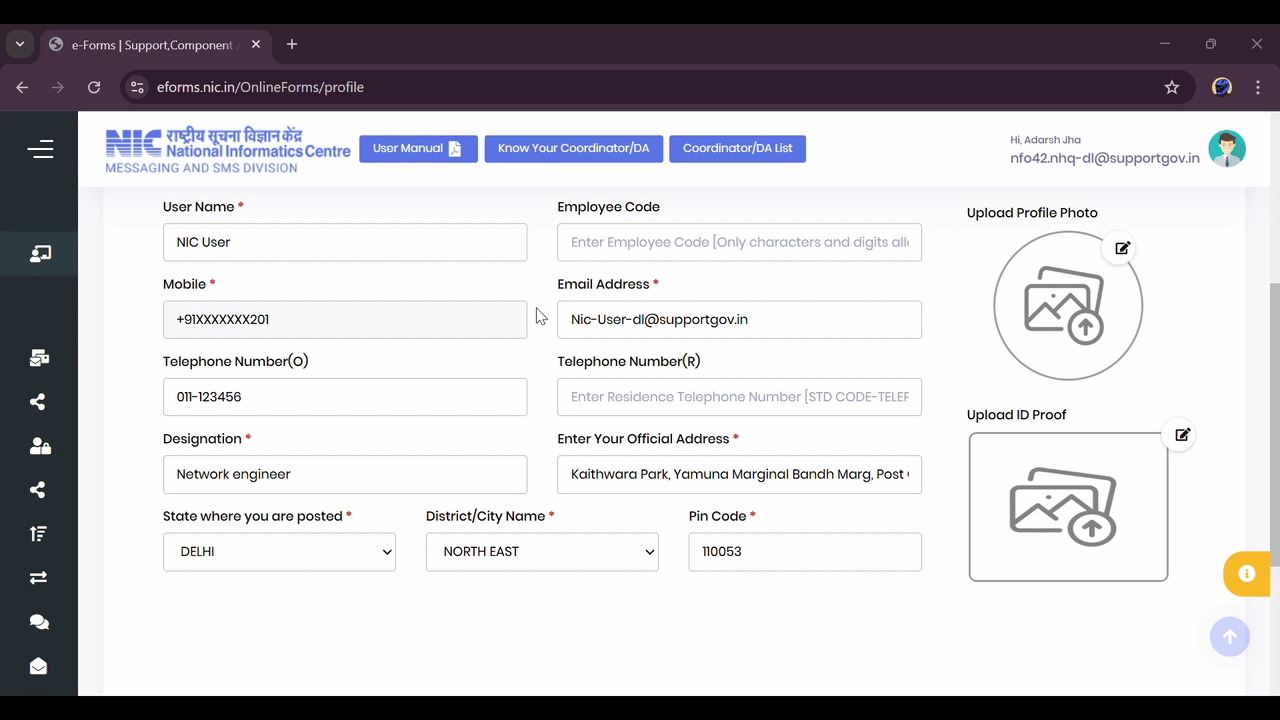
3. Fill User and VPN Details
Complete User Profile
The 'User Profile' page will open. Fill in all 'Mandatory fields' and click 'Continue'.
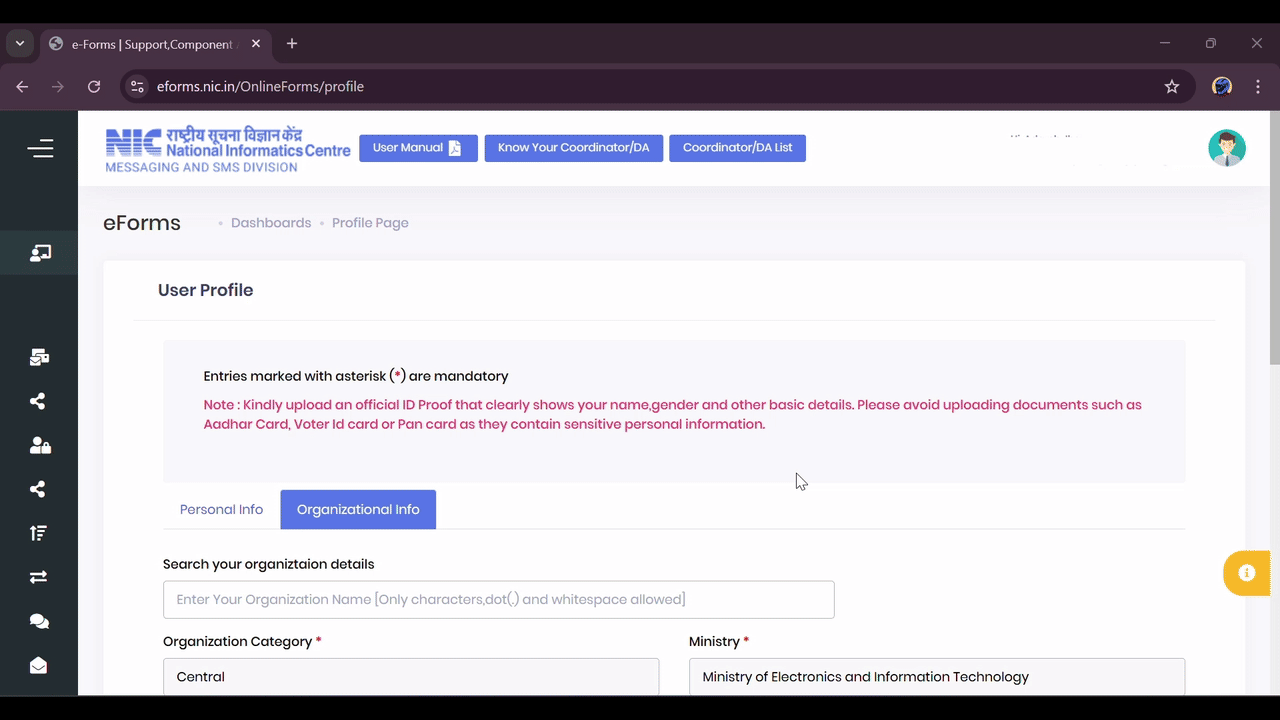
Fill Organization Details
Fill in 'Organization details' select 'Organization Category', then 'Ministry & Department'. Type your 'reporting/nodal/forwarding officer's email id'. Check the declaration box and click 'Submit'.
Select VPN Service
In the left-side panel, select the 'VPN Service' link to open the application form.
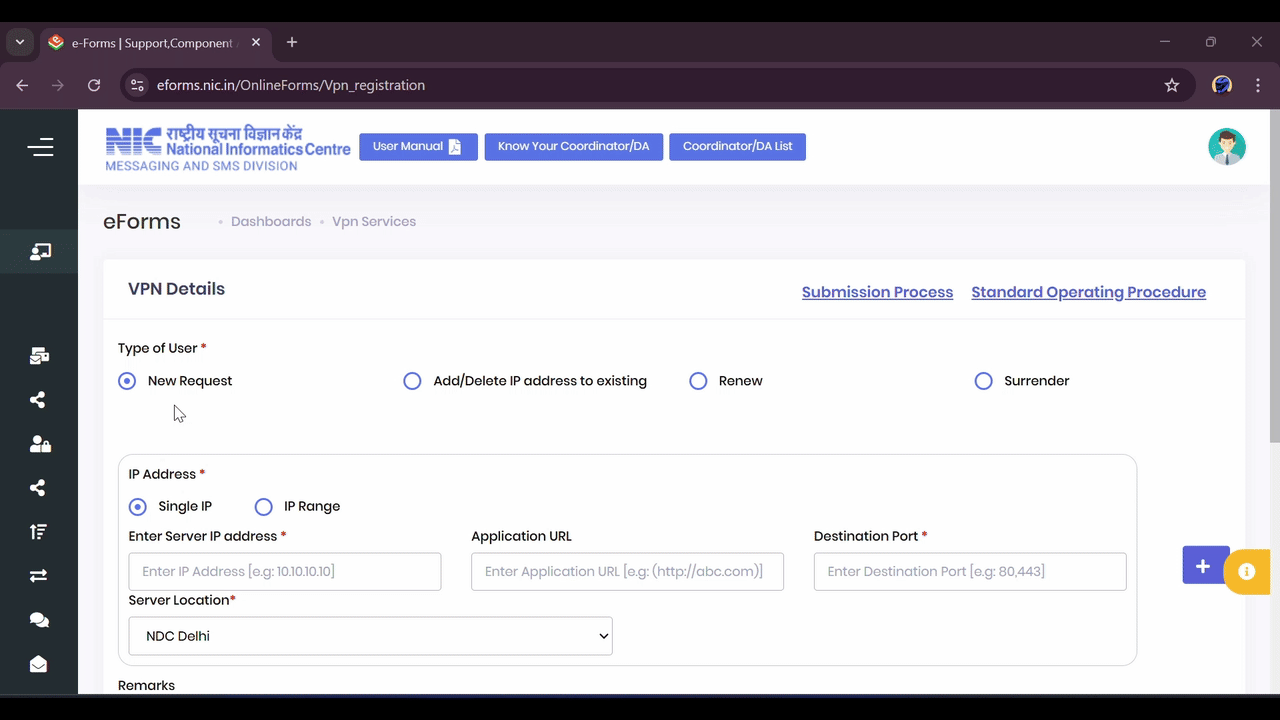
Complete VPN Details
On the VPN application form, select 'New Request' as the Type of User. Choose the 'Co-ordinator email id' from the dropdown list. Enter the 'Server IP address', 'Application URL', 'Destination Port', and 'Server Location'. Enter the 'Captcha' and click 'Preview and Submit'.
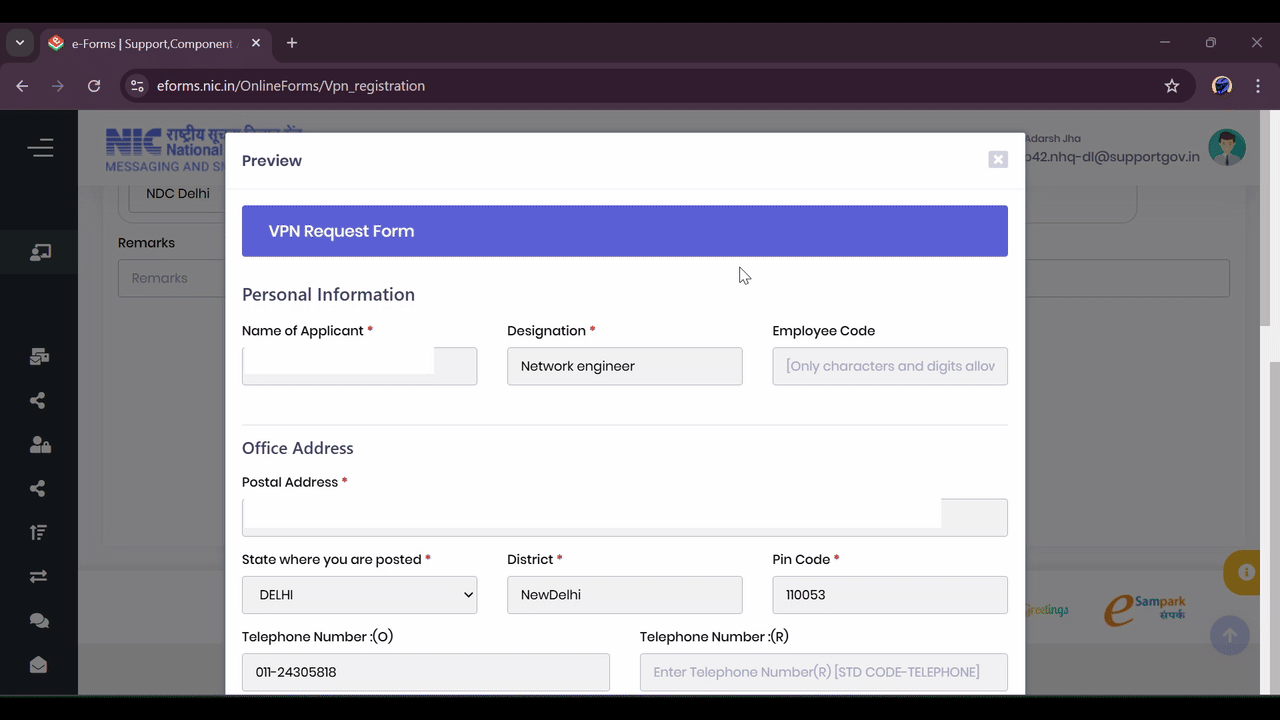
4. Final Submission and Tracking
Review and Submit
Review all details displayed in the preview form. Check the 'Terms and condition' checkbox, then click 'Submit' and then click 'Yes' on the confirmation.
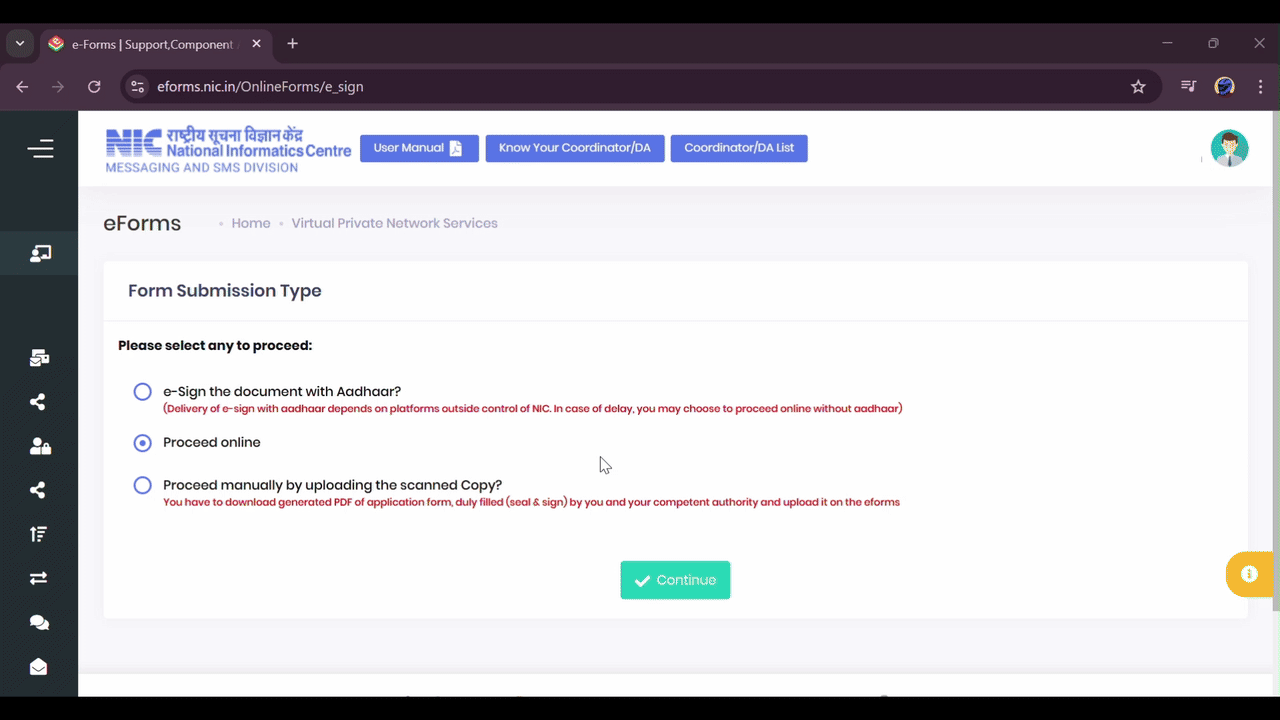
Select Form Submission Type
Select the 'Proceed online' option and click 'Continue'.
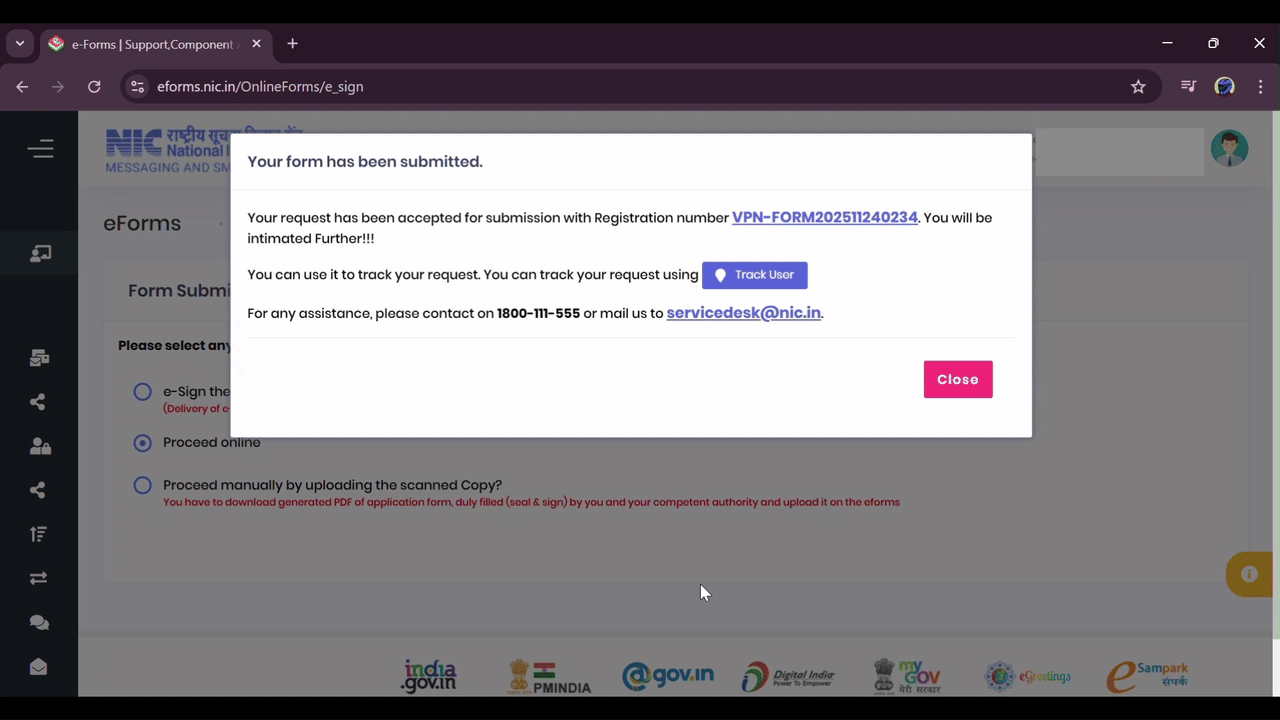
Note Registration Number
A message will display confirming submission and providing the 'VPN Registration number'. Note this number (it's also sent via SMS/Email) and click 'Close'.
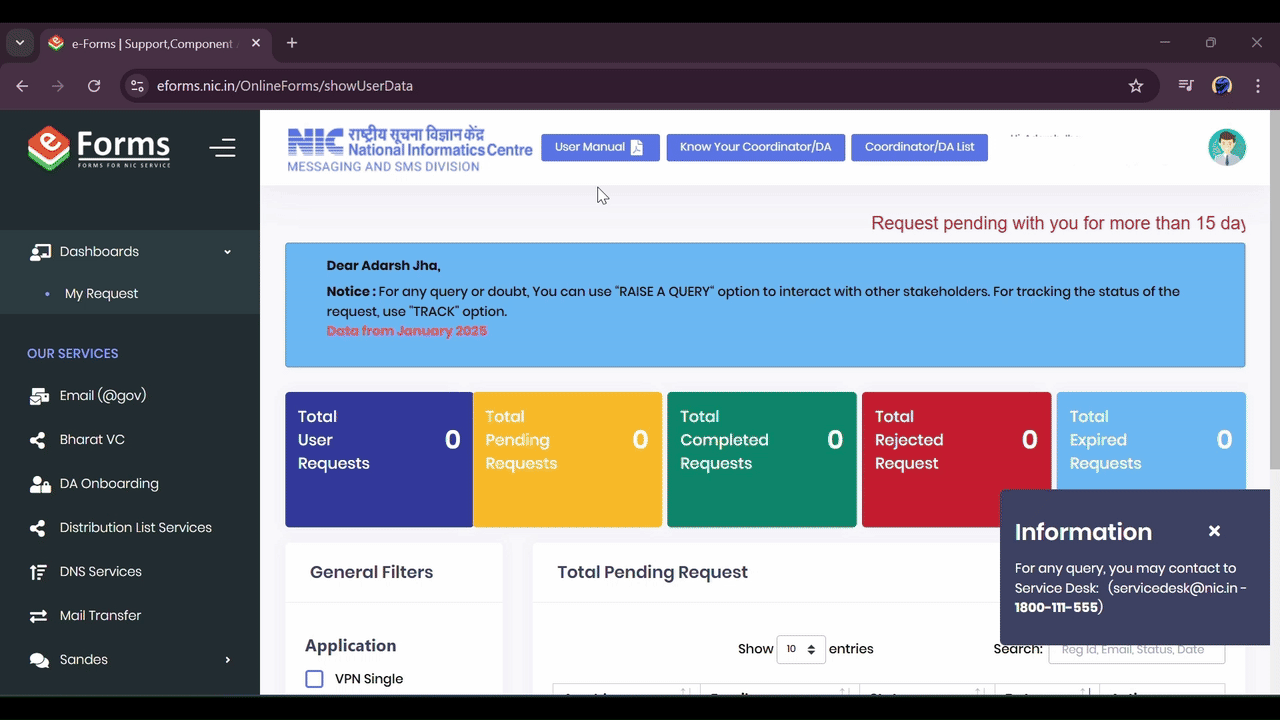
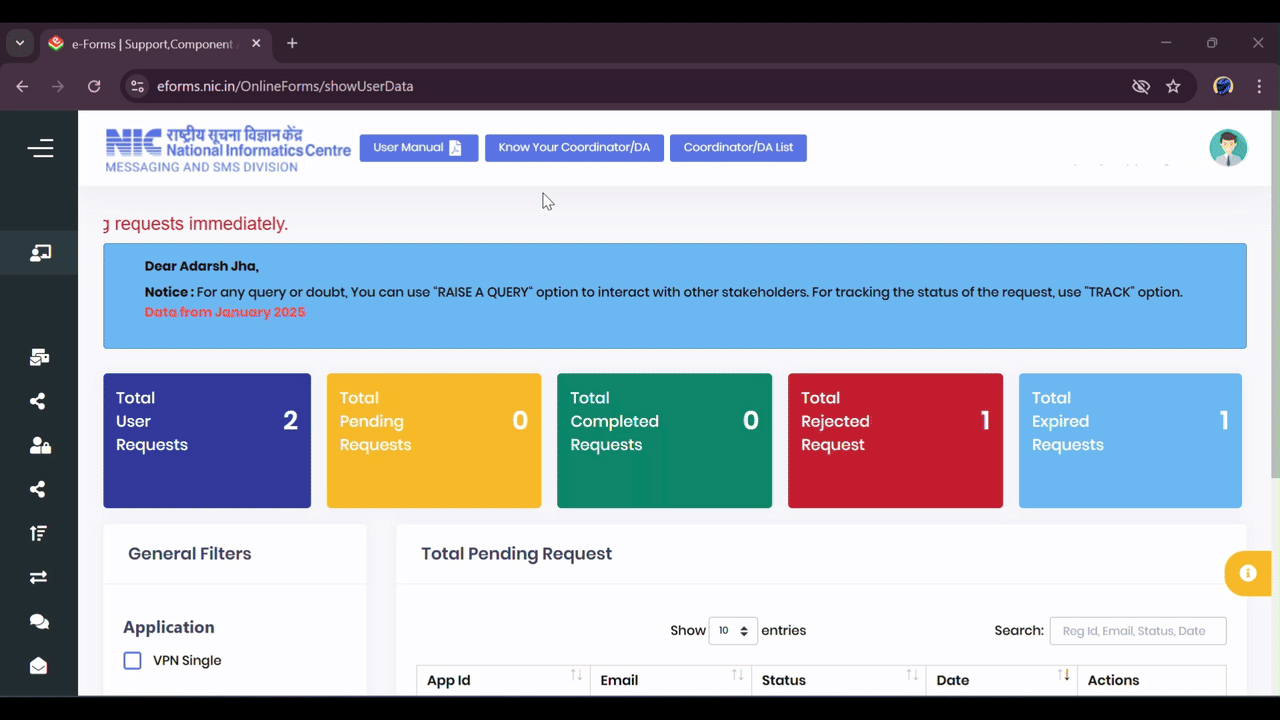
Track Application Status
To track the status, select the 'My Request' link in the left-side panel. Click on the 'Track' option for your VPN application to view the progress.